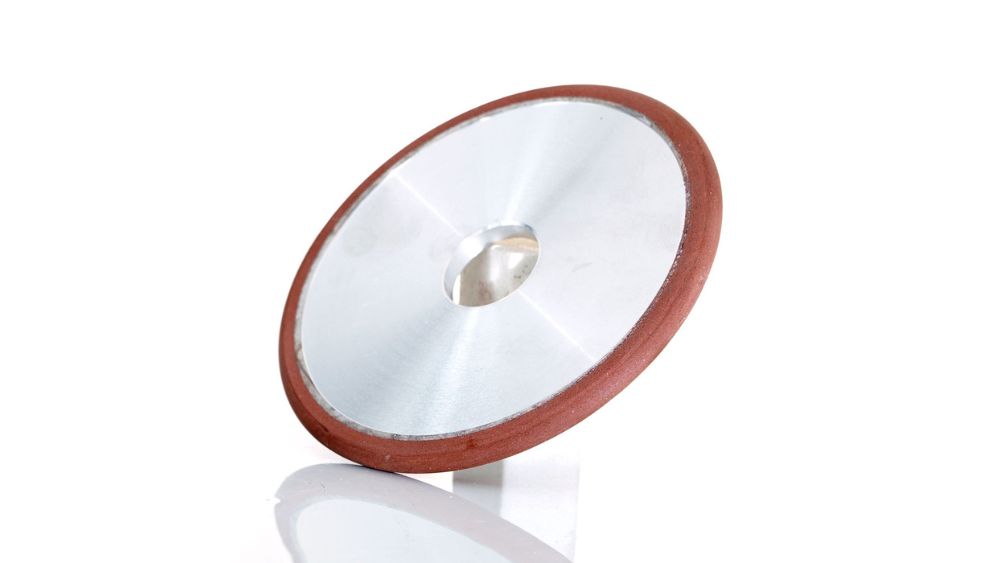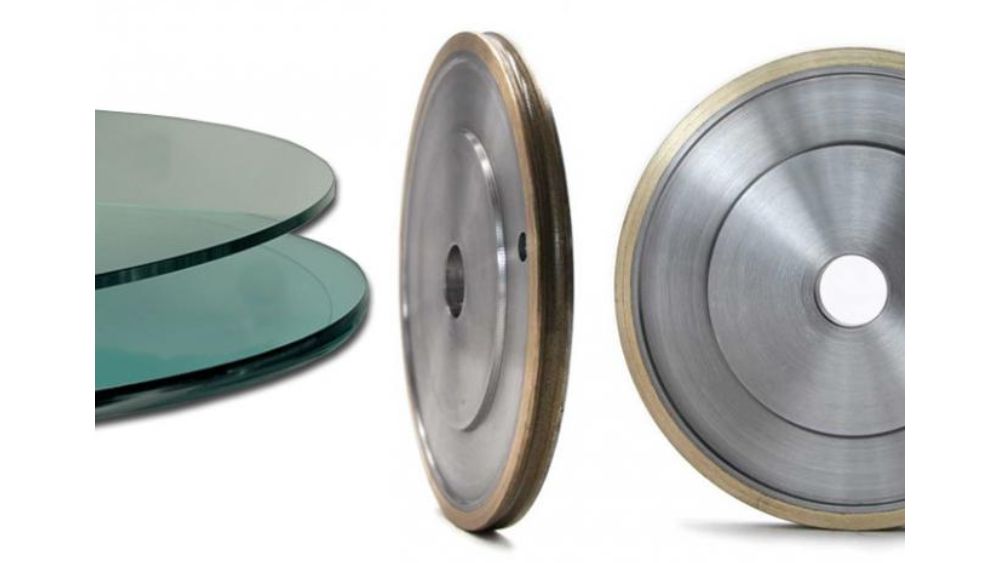
Inspecting the grinding wheel quality before using it is of fundamental importance. A faulty wheel can cause many different problems, such as inefficient grinding, poor results, and even dangerous accidents. The following are some of the steps you can take at the outset to ensure a safe and efficient grinding process:
INSPECTING FOR SAFETY AND PERFORMANCE
VISUAL INSPECTION

A thorough visual inspection is the first step in assessing grinding wheel quality. Hold the wheel in good lighting and examine its surface meticulously. You’re looking for any signs of damage, such as:
- Cracks, which can appear as hairline fractures or larger breaks on the wheel’s surface. Even minor cracks can significantly weaken the wheel, posing a safety hazard.
- Chips – Pieces breaking off the abrasive can indicate excessive wear, overheating, or a mismatch between the wheel and the material you’re grinding.
- Uneven Wear – The wheel should wear evenly across its surface. Localized wear patterns suggest improper grinding techniques or a wheel that’s not suited for the job.
If you find any of these signs of damage, discard the wheel immediately. Grinding with a compromised wheel is dangerous and won’t deliver the results you need.
CHECK GRINDING QUALITY USING THE RING TEST
The simple yet effective ring test is a great way to assess grinding wheel quality for cracks. Here’s how to perform it:
- You’ll need a non-metallic implement like a wooden mallet or the handle of a screwdriver.
- Gently tap the flat side of the wheel, about 45 degrees off-center from a vertical line and an inch or two from the edge. For larger wheels, you can tap the periphery.
- A good quality grinding wheel will produce a clear, high-pitched ringing sound when tapped.
- Rotate the wheel by 45 degrees and repeat the tapping around the entire circumference.
A dull thud or a dead sound indicates a potential crack in the wheel. In this case, don’t use the wheel and dispose of it properly.
BALANCE TEST
A balanced grinding wheel is vital for smooth operation and achieving a consistent finish. An unbalanced wheel will cause excessive vibration during grinding, reducing precision and potentially damaging the workpiece or even the grinder itself. There are two main methods for checking balance:
- Balance on Shaft: Carefully place the wheel on a machined shaft, similar to the grinder’s spindle. A properly balanced wheel will rest evenly without tilting or wobbling.
- Spin Balance Tester: For a more precise evaluation, consider using a spin balance tester specifically designed for grinding wheels. This tool will rotate the wheel and identify any imbalance, allowing for corrective adjustments.
While the initial checks provide a good foundation, ensuring grinding wheel quality requires a more comprehensive approach.
HARDNESS TEST
The hardness of a grinding wheel directly impacts its performance. A wheel that’s too soft will wear down quickly, reducing its lifespan and effectiveness. Conversely, an excessively hard wheel might struggle to remove material or even glaze over, hindering the grinding process. Here are two ways of assessing grinding wheel hardness:
THE SPARK TEST
Before performing the text, ensure you’re in a well-ventilated area with proper safety gear. With the grinder off and unplugged, hold the wheel against the tool rest and lightly touch the edge to the side of the grinding wheel with the grinder running at operating speed. The color and pattern of the sparks emitted can indicate the wheel’s hardness. Generally, red sparks suggest a softer wheel, while white or yellow sparks indicate a harder wheel.
THE SCLEROSCOPE TEST
This is a more precise method that utilizes a specialized tool to measure the wheel’s hardness for grinding wheel quality. The tool measures the rebound height of a small hammer dropped onto the wheel’s surface. Higher rebound values indicate a harder wheel. While the Scleroscope offers greater accuracy, it’s generally not a tool most workshops have readily available.
Consulting the manufacturer’s recommendations for your specific grinding application is the best way to determine the ideal hardness for your wheel.
DIMENSION AND SHAPE CHECK

The dimensions and shape of your grinding wheel also play a crucial role in grinding wheel quality and achieving the desired results. Here’s what to consider:
Ensure the wheel you’re using matches the specifications of your grinder. Using an undersized wheel can be dangerous, while an oversized wheel might not fit properly or clear safety guards. The wheel’s thickness should also align with your grinder’s specifications and the intended application. A thicker wheel allows for more aggressive grinding, while a thinner wheel offers better control for finer work.
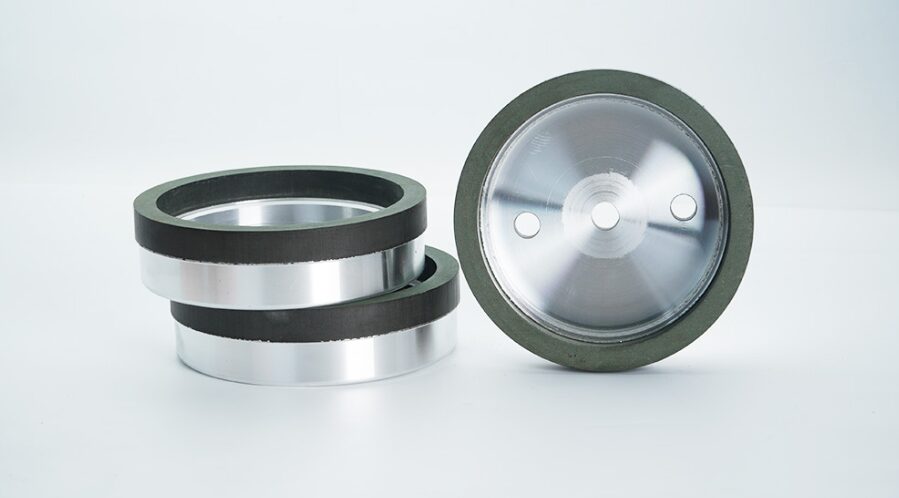
Grinding wheels come in various shapes designed for specific tasks. Common shapes include straight, cup, dish, and saucer wheels. Using the appropriate shape for the job optimizes grinding efficiency and safety. Refer to your grinder’s manual and the grinding wheel’s label to ensure you’re using the correct size and shape for your needs.
MATERIAL AND GRIT CHECK FOR GRINDING WHEEL QUALITY
The abrasive material and grit size of your grinding wheel are crucial factors in achieving grinding wheel quality. The abrasive material should be suited to the material you’ll be grinding. For example, aluminum oxide wheels are ideal for metals, while silicon carbide wheels work well for ceramics and stone.
The grit size refers to the coarseness of the abrasive particles in the wheel. A coarser grit (lower number) removes material faster but leaves a rougher finish.On the other hand, a finer grit (higher number) provides a smoother finish but cuts slower.
Double-check the wheel’s label to ensure the abrasive material and grit size are appropriate for your intended use. Grinding wheel quality hinges on having the right tool for the job. If you’re unsure about the best material or grit size for your application, consult a grinding wheel supplier or refer to a grinding wheel selection guide.
INSTALLATION AND TEST RUN

Once you’ve confirmed your grinding wheel quality through inspection and testing, it’s time for installation. Always follow the manufacturer’s instructions for proper mounting procedures. This typically involves securing the wheel between flanges using the designated nut and wrench. Remember, overtightening can damage the wheel, so use a torque wrench if recommended.
Before diving into grinding, perform a safety check. Ensure all guards are securely fastened, and there are no bystanders in the vicinity. Now, power on the grinder and let the wheel run at operating speed for at least a minute without any workpiece contact. This test run allows the wheel to settle and identify any potential imbalances that could cause vibration. If everything runs smoothly, you’re ready to tackle your grinding project with confidence.
