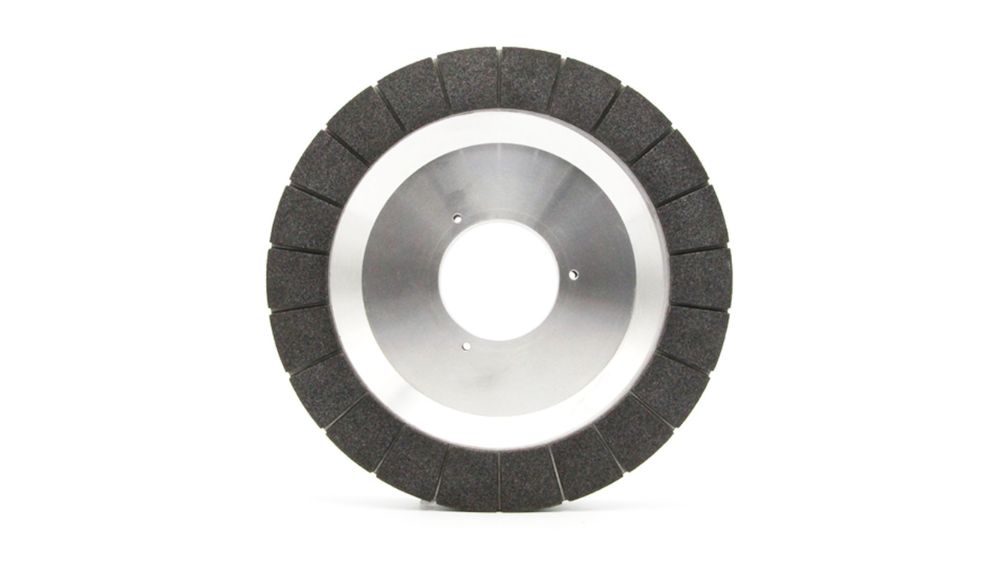
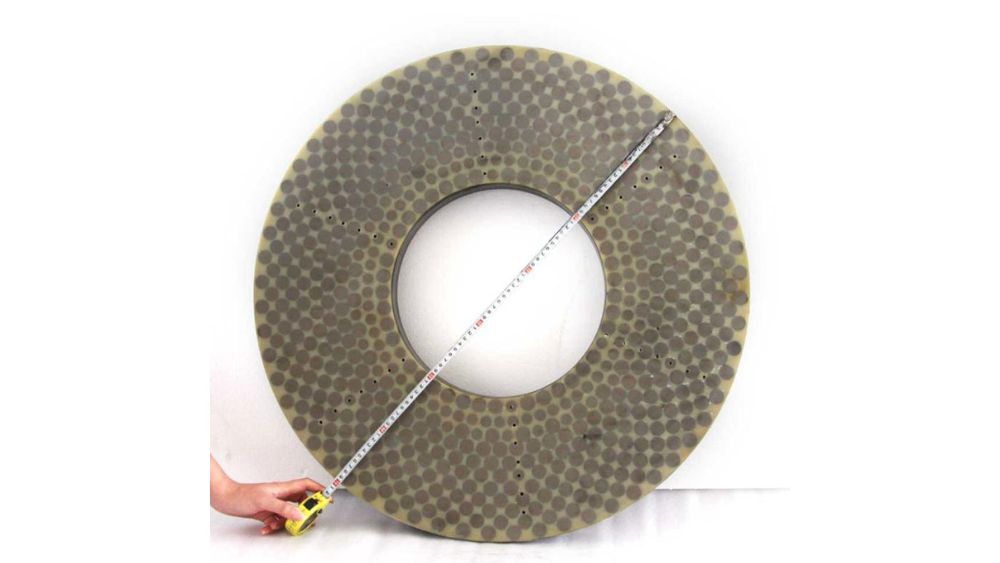
Choosing the right grinding wheel for your project hinges on understanding its grit size. Grit size refers to the coarseness of the abrasive particles embedded within the wheel. This seemingly simple detail significantly impacts how much material you can remove, the speed of grinding, and ultimately, the final finish of your workpiece.

TABLE OF CONTENTS
UNDERSTANDING GRIT SIZE
As you grind, the abrasive particles in the wheel essentially scratch away material from your workpiece. The size of these particles directly affects the rate of material removal and the resulting surface finish:
COARSE GRITS
They feature bigger, more widely-spaced abrasive particles. This translates to a faster cutting action, ideal for situations where you need to remove a significant amount of material quickly – like shaping a rough forging or evening out uneven surfaces. However, the downside is that coarse grits leave a rougher finish on the workpiece.
MEDIUM GRITS
These offer a balance between the aggressive cutting of coarse grits and the finer finishing touch of finer grits. Medium grits have a good mid-range particle size, allowing you to remove material at a decent pace while achieving a smoother surface compared to coarse grits. They’re perfect for general grinding tasks like sharpening tools, smoothing welds, or prepping surfaces for further finishing.
FINE GRITS
These wheels boast very fine abrasive particles, resulting in a slow material removal rate but producing an exceptionally smooth finish. They’re ideal for final polishing stages, sharpening delicate cutting tools, or achieving a refined surface on precision parts.
GRIT MEASUREMENT SYSTEMS

Not all grinding wheels are created equal, and so it follows that their grit sizes are measured differently. There are two main systems you’ll encounter:
NUMBERING SYSTEM
This system is commonly used for grinding wheels made with aluminum oxide or silicon carbide abrasives. Here, a lower number signifies a larger, coarser grit. For instance, a 36-grit wheel will have a significantly faster cutting action compared to a finer 120-grit wheel. Remember, lower number – coarser grit, higher number – finer grit.
MESH SIZE
This system comes into play for grinding wheels that utilize diamond or cubic boron nitride (CBN) abrasives. Here, the focus shifts to the number of openings per linear inch within a sieve used to measure the particle size. A higher mesh number signifies a finer grit. Imagine a sieve with many tiny holes – that allows only very fine particles to pass through, translating to a finer grit wheel. Conversely, a sieve with fewer, larger holes lets bigger particles pass, indicating a coarser grit.
LABEL AND SPECIFICATION CHECK
The most straightforward method is often right on the wheel itself. Grinding wheels are labeled with a code that specifies various aspects, including the grit size. Look for a series of letters and numbers, typically following the size dimensions. This code will include a designation for the abrasive material (e.g., A for Aluminum Oxide) followed by a number representing the grit size (e.g., 60 for a medium grit). Refer to the manufacturer’s specifications or a grinding wheel code chart for interpreting the complete code.
VISUAL INSPECTION

For experienced users, a quick visual inspection of the grinding wheel can offer a general idea of the grit size. Here’s a guideline to help you decipher the clues hiding on the wheel’s surface:
- Coarse Grit: Take a close look at the grinding surface. If you see a visibly open structure with large gaps between the abrasive particles, you’re likely dealing with a coarse grit wheel. These gaps allow for faster material removal but leave a rougher finish.
- Medium Grit: If the grinding surface appears to have a balanced mix of visible abrasive particles and the bonding material holding them together, you’re probably looking at a medium grit wheel. This balance offers a good compromise between cutting speed and achieving a smoother finish.
- Fine Grit: When you examine the grinding surface and see it densely packed with very fine abrasive particles, that’s a strong indicator of a fine grit wheel. These wheels have minimal space between the particles, resulting in a slower cutting action but producing a highly polished and smooth finish.
While visual inspection provides a helpful starting point, especially for experienced users familiar with different grit appearances, it’s not always the most precise method. Wear and tear on the wheel can alter its initial look, and some variations may exist between manufacturers. To get a more definitive answer, we’ll explore other identification methods in the next section.
GRIT IDENTIFICATION TOOLS
Sometimes, a simple visual inspection might not be enough to definitively determine the grit size of your grinding wheel, especially for older wheels or those lacking clear labels. In these situations, specialized tools can come to the rescue and provide a more precise measurement. Here, are two popular methods for identifying grit size:
GRIT GAUGES
These handy tools resemble combs, but instead of teeth, they have a series of progressively finer wires or ridges. Each ridge is labeled with a corresponding grit size. To use a grit gauge, simply place it flat against the grinding surface of the wheel. Ensure the gauge makes good contact with the abrasive particles. Now, carefully slide the gauge back and forth, observing which ridge most closely aligns with the gaps between the grinding wheel’s particles. The number on that particular ridge indicates the approximate grit size of your wheel.
Grit gauges are a relatively inexpensive and easy-to-use option for identifying grit size. However, they offer an estimate rather than an exact measurement. Additionally, wear on the gauge or the grinding wheel itself can affect the accuracy of the reading.
DIGITAL MICROSCOPY
For the most precise determination of grit size, especially for very fine grits or when dealing with unknown abrasives, a digital microscope is a powerful tool. These high-resolution microscopes provide a magnified view of the grinding wheel’s surface, allowing you to see the individual abrasive particles in great detail. With proper calibration and software, you can then measure the size of these particles, accurately identifying the grit size of the wheel.
While digital microscopes offer superior accuracy, they are typically more expensive than grit gauges and require some technical knowledge for operation. However, for professional applications or situations where precise grit size identification is crucial, a digital microscope is an invaluable investment.
While the tools we’ve discussed so far are great for directly measuring the physical characteristics of the grinding wheel, there are a couple of other tricks you can use to get a good idea of the grit size. These methods rely on a little detective work and can be helpful when you don’t have fancy gadgets on hand.
USAGE-BASED IDENTIFICATION

Think about what the grinding wheel was likely used for before it landed in your toolbox. Different applications typically call for specific grit sizes. Here’s a cheat sheet to get you started:
- Heavy Stock Removal: If the wheel was previously used for tasks like grinding down welds or shaping a hefty chunk of metal, it likely sported a coarse grit. These wheels are all about aggressive material removal, leaving a rougher finish in their wake.
Sharpening and - General Grinding: Wheels used for sharpening tools or grinding down surfaces for further finishing often have a medium grit. They offer a good balance between cutting power and achieving a smoother surface.
- Polishing and Fine Finishing: Did you find a wheel that looks like it belonged on a jeweler’s bench? Chances are it has a fine grit. These wheels are designed for meticulous detail work and leave a super smooth, polished finish.
By considering the past life of your grinding wheel, you can narrow down the possible grit size range. This can be particularly helpful when combined with other identification methods.
INDUSTRY STANDARDS AND CODES
Some industries have established specific standards and coding systems for grinding wheels. These codes often include information about the abrasive material, the bond type, and, you guessed it, the grit size. If you’re working in a particular industry or have a wheel that seems to follow a specific code format, some quick research online or consulting the relevant industry standard can help you decipher the code and identify the grit size.
For example, the ANSI B74.1 standard outlines a common coding system for grinding wheels used in the United States. Knowing this standard and how to interpret the codes can be a valuable asset for identifying the grit size of your wheel quickly and easily.
Consulting with Manufacturers
Most grinding wheel manufacturers have excellent customer support resources available. These resources can be a lifesaver when you’re stuck trying to identify the grit size of an unmarked or unknown wheel. Here’s how to leverage this valuable service:
- Gather any markings or identification codes you can find on the wheel. Even a partial code or logo can be a huge clue for the manufacturer.
- Snap some clear pictures of the grinding wheel, focusing on any markings and the overall condition of the abrasive surface.
- Contact the manufacturer’s customer support via phone, email, or online chat. Provide them with the details you’ve gathered, including the pictures and any known history of the wheel’s use (if available).
With this information, the manufacturer’s experts should be able to identify the specific wheel model and provide you with the exact grit size. They might even be able to offer additional insights on the wheel’s intended use and appropriate applications.
PRACTICAL TIPS AND BEST PRACTICES
SAFETY FIRST, ALWAYS!
This might seem obvious, but it’s crucial. Always prioritize safety when working with grinding wheels. Ensure the wheel is properly mounted, balanced, and rated for the intended use before you even think about powering up the grinder. Refer to your grinder’s manual and follow all safety guidelines.
LIGHT UP YOUR INSPECTION!
Good lighting conditions are your friend when inspecting a grinding wheel for grit size. A bright light source will help you see the details of the abrasive surface more clearly, making it easier to distinguish between coarse, medium, and fine grits, especially during visual inspection.
BE A GRINDING WHEEL CODE CRACKER!
Having a handy reference chart of grinding wheel codes on your phone or toolbox can be a real time-saver. These charts often provide a quick way to decipher the code on your wheel and identify the grit size without needing any additional tools. A simple web search for “grinding wheel code chart” should point you in the right direction.
WHEN IN DOUBT, OPT FOR FINE!
If you’re ever unsure about the exact grit size of your wheel, it’s always best to err on the side of caution and choose a finer grit. A finer grit might take a little longer to remove material, but it’s less likely to damage your workpiece with unwanted scratches or gouges. After all, it’s always easier to remove a little more material than it is to fix a damaged surface.
Conclusion
Understanding how to identify the grit size of a grinding wheel empowers you to select the right tool for optimal performance and desired results. By combining the methods outlined above, you can effectively determine the grit of your grinding wheel and ensure efficient and safe grinding operations.
